
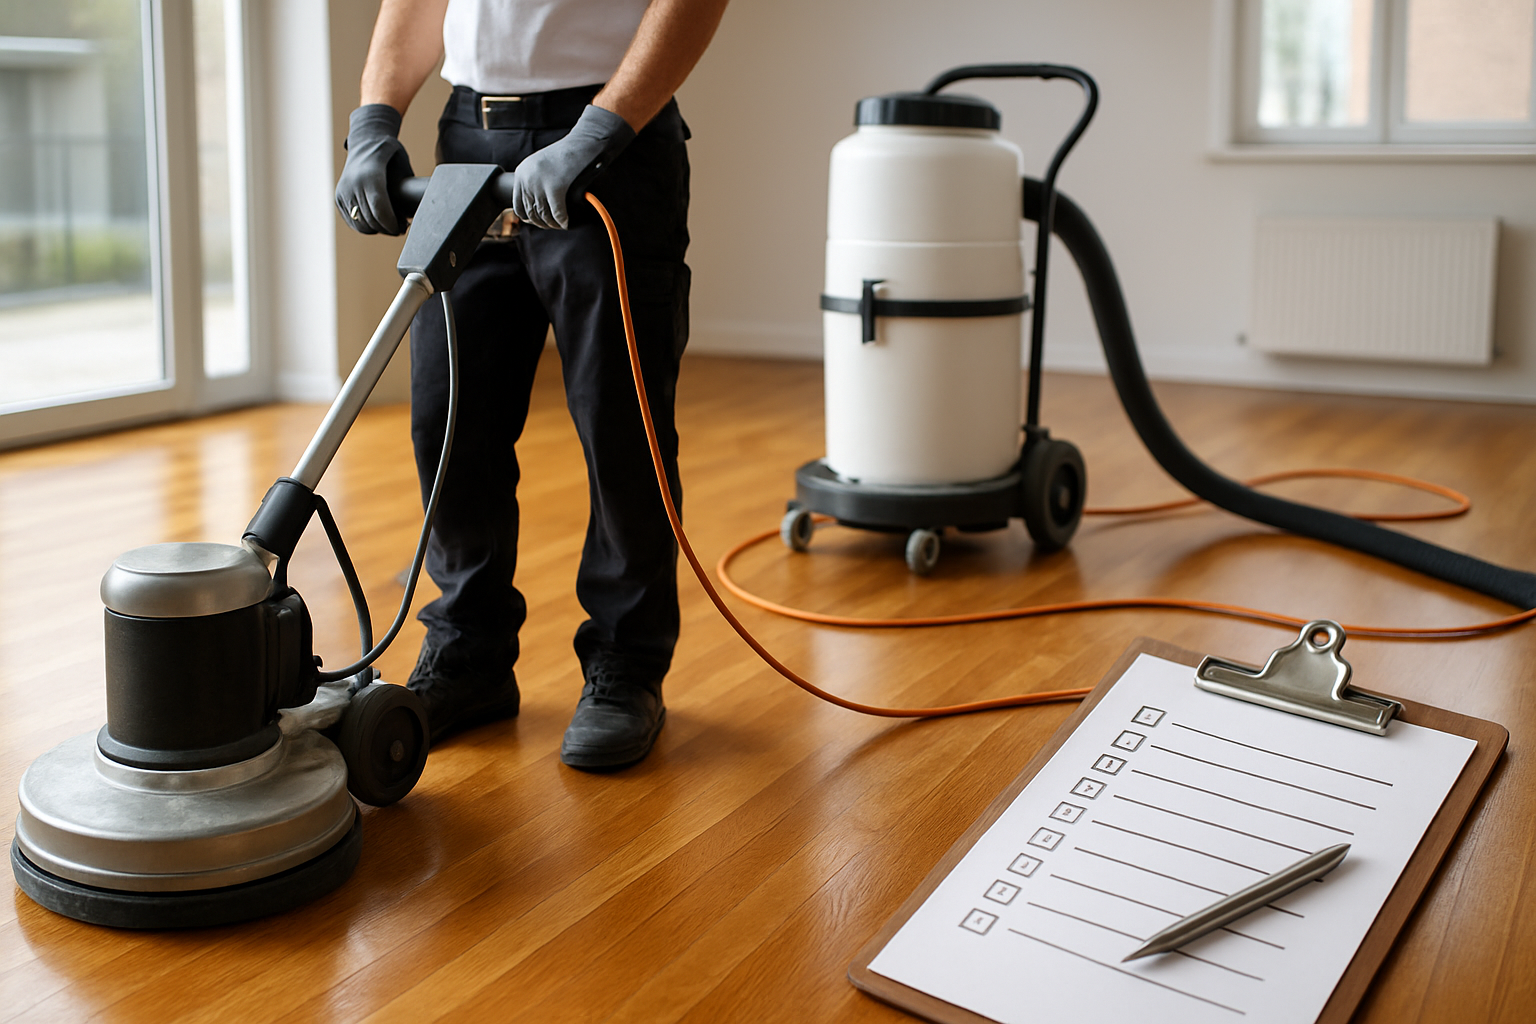
The Ultimate Timber Floor Polishing Checklist for a Showroom-Worthy Finish
Walking into a Wellington heritage villa with tired, dull floors is a bit like seeing a classic car with rusty paint. You know there’s something incredible underneath, it’s just buried under years of wear, dust, and old coatings that have lost their sparkle. After 30+ years of Wellington flooring projects, we’ve walked into hundreds of homes just like this, and we’ve learned exactly what it takes to bring that timber back to life.
Achieving that professional, glossy finish on timber floors requires expert technique and attention to detail. This comprehensive guide walks you through our proven polishing process, from surface preparation to final coating, helping you understand how to restore beauty and durability to your home’s floors. Whether you’re in a character villa in Thorndon, a family home in Petone, or a modern build in Miramar, this checklist will show you exactly what goes into a showroom-worthy finish, and why it’s worth doing properly.
Why Wellington Homeowners Get Stuck on Floor Polishing Decisions
We get it. Flooring decisions feel overwhelming when you’re renovating, especially when it comes to something as visible (and as walked on) as your timber floors. Do you sand back to bare timber or just refresh the existing coating? What finish suits your home’s style? How much disruption are you really in for?
Most Wellington homeowners we meet are juggling the same worries:
- Worrying the floors are “too far gone” to save
- Not knowing whether their villa’s original timber can handle another sand and polish
- Concerned about mess, dust, and how long the job will take
- Wanting a finish that actually looks professional, not patchy or uneven
- Trying to work out if polishing is even the right call versus a full re-lay
The good news is that timber floor polishing is one of the most rewarding transformations you can do in a home. It’s affordable compared to ripping up and replacing floors, and when it’s done right, the results genuinely stop people in their tracks. This checklist breaks down exactly what a proper polishing job involves, so you know what to expect and what “done properly” actually looks like.
Step 1: Assess the Floor Before You Touch a Single Board
Every great polishing job starts long before any product touches the timber. Here’s what needs checking first.
Check the Condition of the Timber
- Look for deep scratches, gouges, or worn patches (especially in high traffic areas like hallways and living rooms)
- Check for gaps between boards, which are common in older Wellington villas due to timber movement over the decades
- Identify any boards that are cupping, lifting, or showing signs of moisture damage
- Note any old coatings, wax, or previous polish layers that will need to be dealt with
Consider Your Home’s Age and Style
Heritage villas in areas like Mount Victoria and Thorndon often have original rimu or matai floors that have incredible character but may have had multiple coatings applied over the years. Modern builds in Newtown or Miramar might have newer timber or engineered boards that behave differently under sanding and polishing. Knowing what you’re working with shapes the whole approach.
Pro tip: If you’re not sure whether your floor needs a light polish or a full sand and polish, it’s worth getting an expert set of eyes on it before you decide anything. A quick assessment can save you from either underdoing the job or paying for more work than you actually need.
Step 2: Surface Preparation, the Step Everyone Underestimates
This is where the magic really starts, and it’s also the step that gets rushed the most when people try to DIY it. A showroom finish is built on proper preparation, not just a fresh coat slapped over old problems.
Clearing and Cleaning
- Remove all furniture, rugs, and floor coverings from the space
- Clean the floor thoroughly to remove dust, grit, and debris that can interfere with sanding and coating
- Check skirting boards and edges for any obstacles that might affect the finish near walls
Sanding Back to Reveal What’s Underneath
Floor sanding is what strips away old finishes, surface damage, and years of wear to expose fresh, clean timber underneath. This is often the difference between a floor that looks “okay” and one that looks brand new. Proper sanding:
- Removes old varnish, wax, or polish layers that have yellowed or worn unevenly
- Smooths out surface scratches and minor imperfections
- Levels the timber so the new finish sits evenly across the whole floor
- Prepares the wood grain to properly absorb the polish or coating
This step is exactly why floor sanding and floor polishing go hand in hand. You genuinely can’t get a professional, even finish without addressing what’s happening at the surface level first. It’s an affordable and time-saving alternative to full floor replacement, and when done properly, it gives your timber a second life.
Filling Gaps and Repairing Imperfections
Older Wellington homes often have small gaps between boards from decades of seasonal movement. Filling these where appropriate helps create a smoother, more even surface and stops dust and debris collecting in the cracks over time.
Step 3: Choosing the Right Finish for Your Space
This is where your floors really start to reflect your home’s personality. The right finish doesn’t just protect your timber, it enhances the whole look and feel of the room.
Think About How the Room Is Used
- High traffic hallways and living areas need a durable, hard-wearing finish that can handle daily life
- Bedrooms and quieter spaces have a bit more flexibility since they see less wear
- Homes with kids or pets benefit from finishes chosen with extra durability in mind
Match the Finish to Your Home’s Style
A heritage villa with original rimu floors often looks incredible with a finish that highlights the natural grain and warmth of the timber, respecting the character while adding modern durability. Meanwhile, a contemporary home might suit a sleeker, more uniform finish that complements clean lines and open plan living.
Pro tip: Bring a sample of your existing furniture, curtains, or paint colours into the conversation when you’re deciding on a finish. The best floor polishing jobs consider the whole room, not just the timber in isolation.
Step 4: Applying the Coating, Layer by Layer
This is the step that gives you that glossy, professional, showroom-worthy shine. It’s not a single quick coat, it’s a careful, layered process.
- Apply the first coat evenly across the prepared timber, working in sections to maintain consistency
- Allow proper drying time between coats (rushing this step is one of the biggest mistakes in DIY jobs)
- Lightly check and address any imperfections between coats
- Apply additional coats as needed to build up depth, durability, and that signature shine
The number of coats