Are you looking to give your timber floors a fresh new look? Look no further than floor staining. At Four Star Flooring, we offer a full range of flooring services to meet your needs, including timber floor sanding, polyurethane floor coatings, and whitewash options. Our team of experts has decades of combined experience in the industry and a true passion for what they do. With floor staining, you can customize the color of your timber floors, creating a unique and stunning look for your space. Whether you prefer a natural oil finish or a water-based polyurethane, we have options to suit every style and preference. Give your floors a makeover and breathe new life into your space with our professional floor staining services.
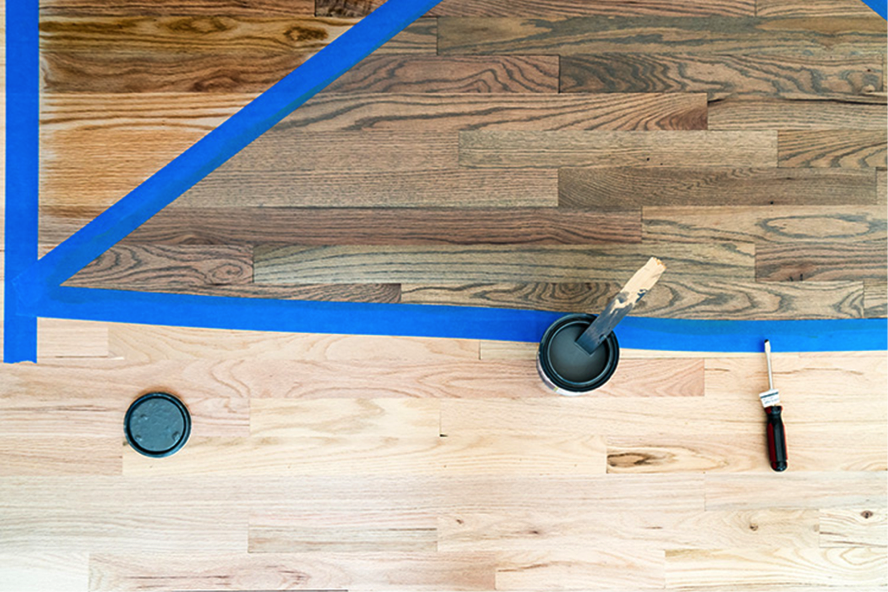
Customize Your Timber Floor Colors with Floor Staining
When it comes to customizing the colors of your timber floors, floor staining is the perfect solution. Floor staining allows you to add your personal touch and achieve the desired look for your space. Whether you want to enhance the natural beauty of the wood or completely transform its appearance, floor staining can help you achieve the desired result. In this comprehensive article, we will guide you through the process of floor staining and provide valuable information on sanding, polyurethane coatings, stain types, choosing the right color, preparations before staining, the staining process, drying and curing, as well as maintenance and care.
Sanding
Before you can start the floor staining process, it is essential to prepare the surface of your timber floors by sanding. Sanding not only removes any existing finishes or stains but also helps to achieve a smooth and even surface for the stain to adhere to. The benefits of floor sanding are numerous. It not only enhances the aesthetics of your floors but also helps to remove scratches, dents, and other imperfections. By sanding your timber floors, you are essentially giving them a new lease on life.
The sanding process involves using a floor sander, which can be rented from a hardware store. It is important to follow the instructions provided with the sander and take necessary safety precautions. Start with a coarse-grit sandpaper to remove any existing finishes or stains, and then gradually move to finer-grit sandpaper to achieve a smooth surface. Make sure to sand in the direction of the wood grain to avoid damaging the floorboards.
Polyurethane
After sanding the timber floors, the next step is to apply a protective coating such as polyurethane. Polyurethane coatings are known for their beautiful finish and durability. They provide a protective barrier that helps to prevent scratches, stains, and everyday wear and tear. Polyurethane coatings come in different types, including oil-based and water-based options. Each type has its advantages, and the choice depends on personal preference and specific requirements.
Oil-based polyurethane coatings offer a warm amber tone and are typically more durable. They take longer to dry and require proper ventilation during application. On the other hand, water-based polyurethane coatings have a clear and light appearance. They dry faster and are eco-friendly with low VOC emissions. Water-based coatings are ideal for areas with high traffic or where quick drying is necessary.
Staining
Now comes the exciting part – staining your timber floors. Staining not only adds color to your floors but also enhances the natural beauty of the wood. It allows you to customize the appearance of your floors and create a unique and personalized space. Stains can be transparent, semi-transparent, or opaque, depending on the level of color saturation you desire.
There are various types of stains available, including water-based stains, oil-based stains, gel stains, dye stains, and aging stains. Water-based stains are known for their eco-friendliness and fast drying time. Oil-based stains offer deeper color penetration and are great for achieving rich and vibrant tones. Gel stains provide a thick and even coat with minimal dripping, making them easy to apply. Dye stains offer vibrant colors and can be mixed to create custom shades. Aging stains create a weathered or antique look on your timber floors.
Oil or Water-based Poly
Choosing the right finish for your stained timber floors is crucial to achieving the desired look and durability. When it comes to finishes, the two main options are oil-based and water-based polyurethane. Understanding the advantages and differences between these finishes will help you make an informed decision.
Oil-based polyurethane finishes are known for their durability and depth of color. They provide a warm and amber hue to your timber floors, enhancing the natural beauty of the wood. Oil-based finishes require longer drying times and proper ventilation during application. On the other hand, water-based polyurethane finishes have a clear and light appearance. They dry faster and have low VOC emissions, making them eco-friendly. Water-based finishes are ideal for areas that require quick drying or have strict environmental regulations.
When applying polyurethane finishes, it is essential to follow the manufacturer’s instructions. Proper application ensures an even coat and a long-lasting finish. Considerations for choosing the right finish include the desired level of color saturation, drying time, odor sensitivity, and environmental impact.
Whitewash & Blockout
If you are looking for unique and stunning effects for your timber floors, consider whitewashing or blockout techniques. Whitewashed floors have a light and airy appearance, creating a rustic or beachy feel. The whitewash effect can be achieved by diluting white paint and applying it to the surface of the timber floors. The paint is then wiped off, leaving a subtle white wash that allows the grain of the wood to show through.
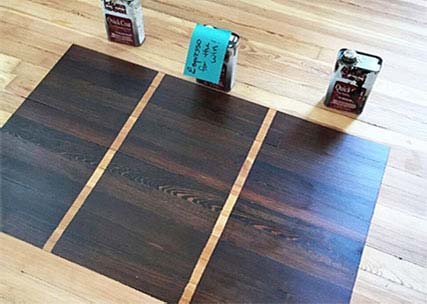
Blockout floors, on the other hand, create a dramatic and bold statement. By using a dark or opaque stain, you can achieve a blockout effect where the natural color and grain of the timber are hidden. This technique is ideal for creating contrast or making a focal point in your space. Blockout floors can be combined with other staining techniques to create unique patterns and effects.
Types of Stains
To further customize your timber floor colors, it is essential to understand the different types of stains available. Each type offers unique characteristics and color options, allowing you to achieve the desired look for your space.
Water-based stains are environmentally friendly and dry quickly. They offer a wide range of color options and can be easily mixed to create custom shades. Oil-based stains provide deep color penetration and are ideal for achieving rich and vibrant tones. They take longer to dry and require proper ventilation during application. Gel stains have a thick consistency, making them ideal for vertical surfaces and preventing dripping. Dye stains offer vibrant and intense colors that can be layered to create a multi-dimensional effect. Aging stains create a weathered or antique look by highlighting the natural grain and imperfections of the wood.
Choosing the Right Stain Color
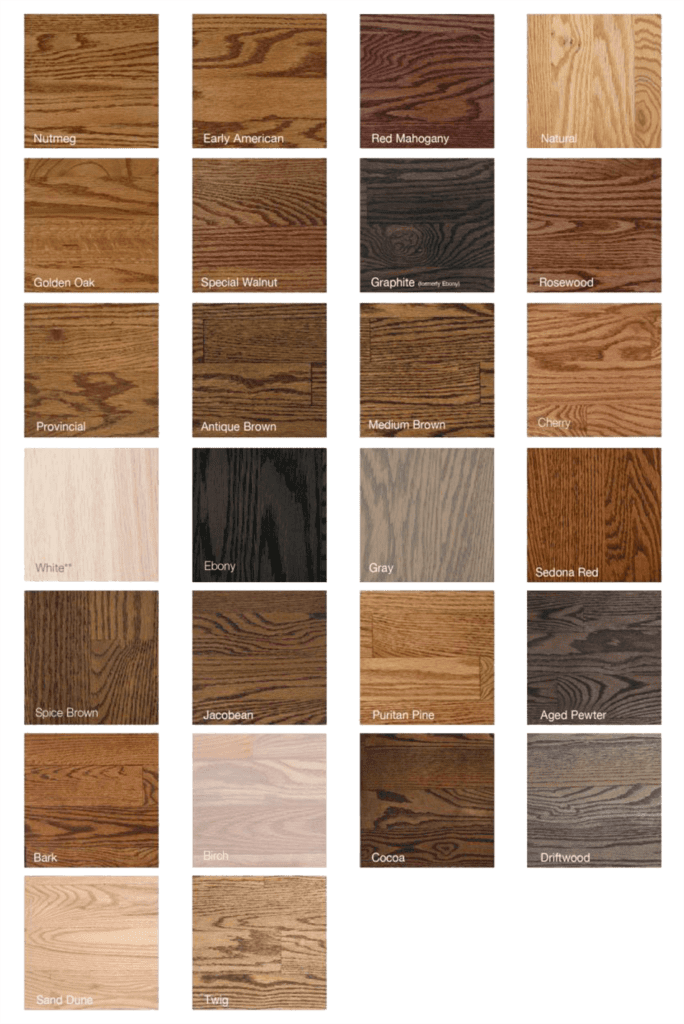
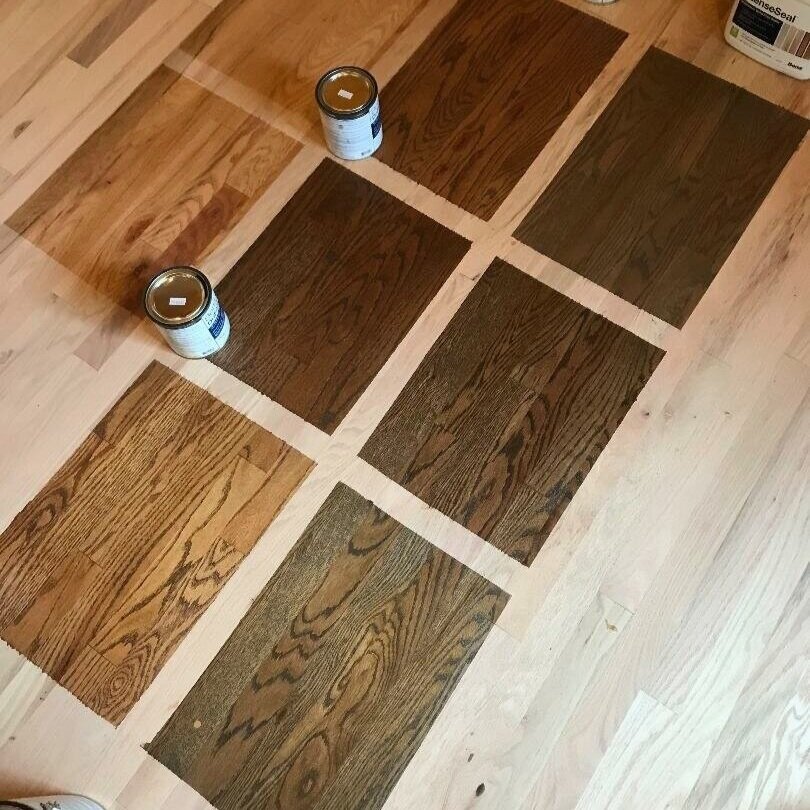
Choosing the right stain color for your timber floors is a crucial step in customizing their appearance. The color you choose should complement the existing décor and style of your space while considering your personal preferences. Here are some factors to consider when selecting a stain color:
-
Considering the Existing Décor and Style: Take into account the color palette and style of your space. Choose a stain color that harmonizes with the overall aesthetic and enhances the existing décor.
-
Natural vs. Dramatic Colors: Decide whether you want a stain color that enhances the natural beauty of the wood or creates a more dramatic and bold statement. Natural colors allow the grain and character of the wood to shine through, while dramatic colors can add depth and create a focal point.
-
Light vs. Dark Colors: Consider the amount of natural light in your space and the desired mood you want to create. Light stain colors can make a room appear larger and brighter, while dark stain colors create a cozy and intimate atmosphere.
-
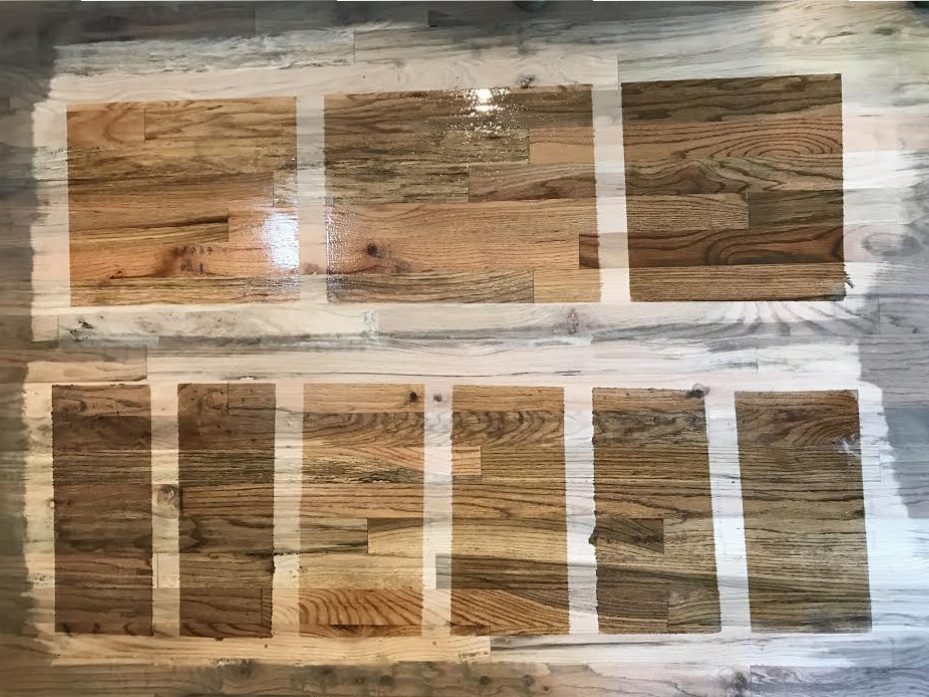
Sampling and Testing: Before committing to a stain color, it is recommended to sample and test various options on a small section of your timber floors. This allows you to see how the stain will look when applied and whether it meets your expectations.
Preparations Before Staining
Before applying the stain to your timber floors, proper preparations are necessary to ensure a successful and long-lasting result. Here are some essential steps to take before staining:
-
Cleaning and Sanding the Floors: Thoroughly clean the timber floors to remove any dirt, dust, or debris that may affect the adhesion of the stain. Sand the floors to create a smooth and even surface, removing any previous finishes or stains.
-
Repairing Damaged Areas: Inspect the floors for any damages, such as scratches, dents, or cracks. Repair and fill these areas before applying the stain to ensure a uniform appearance.
-
Removing Existing Stains or Finishes: If there are any existing stains or finishes on your timber floors, it is important to remove them completely before applying a new stain. Use an appropriate stripping product and follow the manufacturer’s instructions.
-
Masking and Protecting Surrounding Areas: Cover any areas that you do not want to be stained, such as baseboards or adjacent surfaces. Use painter’s tape and drop cloths to protect these areas from accidental staining.
Staining Process
Once the preparations are complete, it is time to apply the stain to your timber floors. Follow these steps for a successful staining process:
-
Select the Appropriate Stain: Choose the stain color that you have determined will achieve the desired look for your timber floors. Ensure you have enough stain to cover the entire area.
-
Apply the Stain: Use a brush or a clean cloth to apply the stain to the timber floors. Work in manageable sections, applying an even coat of stain in the direction of the wood grain. Make sure to apply enough stain to saturate the wood but avoid excessive pooling.
-
Wipe off Excess Stain: After applying the stain, use a clean cloth to wipe off any excess stain. This helps to achieve an even and consistent color. Wipe in the direction of the wood grain to prevent streaks or smudges.
-
Allow the Stain to Dry: Allow the stain to dry completely according to the manufacturer’s instructions. This may take several hours or even a day, depending on the type of stain used. Ensure proper ventilation during the drying process.
Drying and Curing
After applying the stain, it is important to allow it to dry and cure properly. This ensures that the color is set and the finish is fully developed. While the drying time may vary depending on the stain type and environmental conditions, it is recommended to wait at least 24 hours before walking on the stained floors. Avoid placing furniture or rugs on the floors until they are fully cured to prevent any potential damage.
Maintenance and Care
To keep your stained timber floors looking their best, regular maintenance and care are essential. Here are some tips to ensure the longevity and durability of your stained floors:
-
Regular Cleaning: Sweep or vacuum your timber floors regularly to remove any dirt or debris that may scratch the surface. Use a damp mop or cloth to clean spills or stains promptly.
-
Avoiding Harsh Chemicals: When cleaning your stained floors, avoid using harsh chemicals or abrasive cleaners that can damage the finish. Stick to mild and pH-neutral cleaners specifically designed for timber floors.
-
Preventing Scratches and Damage: Place protective felt pads under furniture legs to prevent scratches when moving or rearranging items. Use mats or rugs in high-traffic areas and near exterior doors to catch dirt and prevent wear.
-
Periodic Maintenance and Refinishing: Over time, the finish on your stained floors may wear down. Periodically assess the condition of your floors and consider refinishing them for a fresh and updated look. Follow the manufacturer’s instructions for refinishing or consult a professional for assistance.
By following these maintenance tips, you can enjoy the beauty and durability of your stained timber floors for years to come.
In conclusion, floor staining provides a fantastic opportunity to customize the colors of your timber floors. From sanding to polyurethane coatings, from staining techniques to choosing the right color, this comprehensive article has covered all the necessary information you need to know. Whether you prefer a natural or dramatic look, light or dark colors, or unique effects like whitewashing or blockout, the options for customizing your timber floor colors are endless. By taking proper preparations, following the staining process, and practicing regular maintenance and care, your stained timber floors will continue to impress and enhance your space for years to come. So go ahead and unleash your creativity with floor staining and make your timber floors truly yours!




One Comment