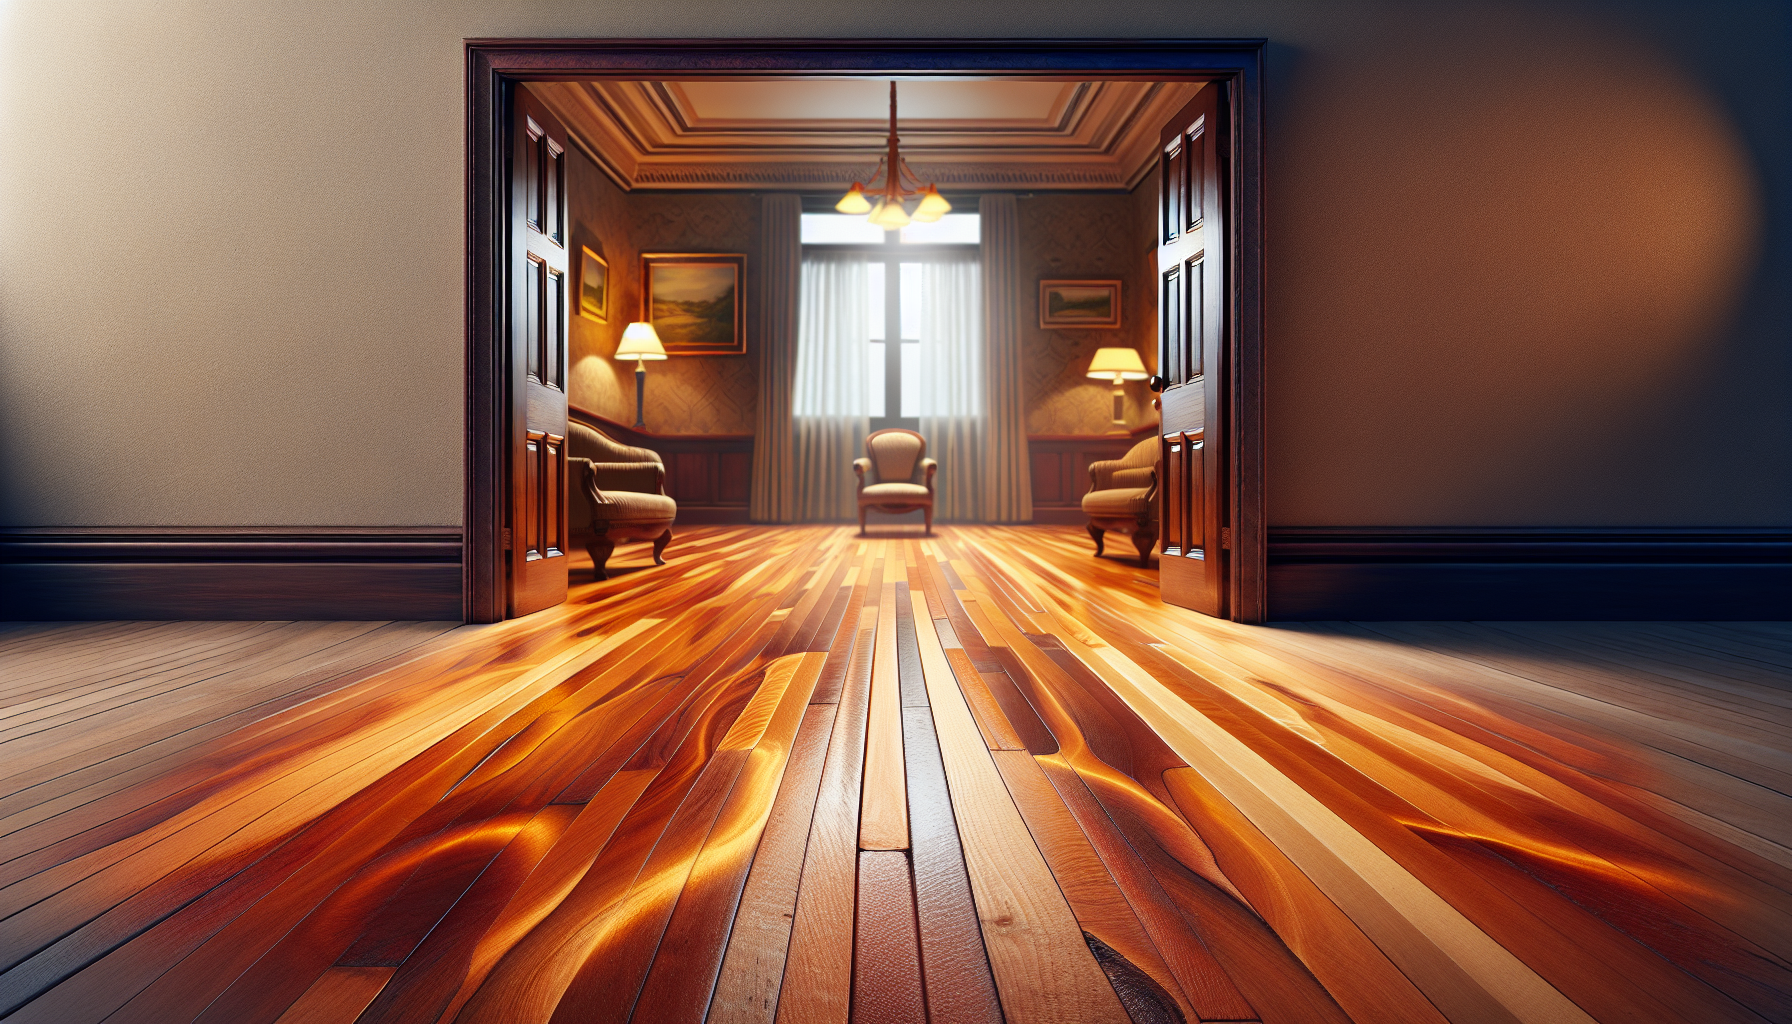
Breathing new life into your timber floors is easier than you might think, and nothing brings out the natural beauty quite like a professional sanding and finishing. If you’re in Wellington and looking to refresh your space, understanding the transformative power of floor sanding and staining is essential. By embracing the expertise of local Wellington professionals, your timber floor can be elevated to a work of art, showcasing the rich textures and colors that lie beneath the surface scuffs and scratches. Join us as we explore how this meticulous process can revitalize your home, infusing it with warmth and character.
Understanding Timber Floor Sanding & Finishing
The Basics of Timber Floor Renewal
As homeowners, we often find that with time, our beloved timber floors lose their luster and start to show signs of wear. That’s where the process of timber floor renewal comes in – a process we lovingly embrace to bring back the charm and beauty of our wooden floors. It involves sanding the top layer to remove the old finish, scratches, and dents, followed by applying a new coat of finish. This not only revives the appearance but also extends the life of our floors.
Benefits of Sanding and Finishing Your Floor
By sanding and finishing our timber floors, we gain a host of benefits that go beyond just aesthetics. We get an even, smooth surface that’s easier to clean and maintain. It increases the durability of the floor, protects it from stains, and reduces the likelihood of splinters. Plus, it can drastically improve the ambiance of our space, increasing both comfort and property value.
Preparation for Sanding and Finishing
Evaluating Your Timber Floors
Before we embark on our floor renewal journey, it’s essential for us to thoroughly assess the condition of our timber floors. This step helps us understand the extent of wear and the type of repair or preparation required before sanding can commence. We look for deep scratches, warping, or loose planks that may need attention.
Materials and Tools Required
Arming ourselves with the right materials and tools is pivotal to the process. We typically need sandpaper of various grits, a drum or orbital sander, edge sander, and possibly a floor buffer. Of course, our personal protective gear like masks and earplugs is a must to keep us safe.
Clearing and Cleaning the Area
Before we begin, it’s critical for us to clear the room of furniture and any other items. We give the floor a good clean to remove any dust and debris that could interfere with the sanding process. Ensuring a clean slate is key for a successful renewal.
Choosing a Professional in Wellington
Why Choose a Professional?
While the idea of a DIY job might be tempting, we realize that sanding and finishing are tasks best left to the professionals. They have the experience, skills, and specialized equipment necessary for achieving the best results without risking damage to our floors or ourselves.
How to Find a Reputable Floor Specialist
In Wellington, sourcing a reputable floor specialist is a matter of research and references. We ask for recommendations from friends, check local listings, and read reviews to identify professionals known for their quality work and reliability.
What to Look for in a Flooring Contractor
When we’re on the lookout for a flooring contractor, we focus on their experience with timber flooring, the quality of their equipment, their process for dust control, their portfolio of completed projects, and, of course, client testimonials. A contractor willing to discuss our needs and provide a transparent quote is usually a good sign.
The Sanding Process Explained
Steps Involved in Floor Sanding
The floor sanding process is methodical and precise. It typically involves beginning with a coarse sandpaper to remove the old finish and major imperfections and progressively moving to finer grits to smooth the timber. Careful attention is given to edges and hard-to-reach areas to ensure a uniform result.
Dust Control Techniques
Dust control is paramount for us to keep a clean working environment and air quality. Professionals use various techniques, including connecting sanders to dust extraction systems, sealing off rooms, and frequent clean-ups during the job.
Dealing with Floor Imperfections
Imperfections such as deep gouges or uneven planks present us with challenges that professionals are adept at handling. They may fill gaps with a matching filler, resecure loose planks, and carry out localized repairs to ensure the floor is prepped and ready for the finishing stage.
Selecting the Right Finish for Your Floor
Types of Timber Floor Finishes
There’s a multitude of finishes available for our timber floors, including polyurethane, wax, oil, and lacquer. Each finish has its own properties concerning durability, sheen, and maintenance requirements. The choice largely depends on the use of the area and our personal preference.
Comparing Water-based and Oil-based Finishes
In comparing water-based and oil-based finishes, we often weigh the pros and cons of each. Water-based finishes tend to dry faster and have a lower VOC content, making them environmentally friendlier. Oil-based finishes, on the other hand, offer a richer color and traditionally have been known for their durability.
Latest Trends in Floor Finishing
We’re always on the lookout for the latest trends, and for timber floor finishing, it’s all about environmentally friendly products and practices. This includes using finishes with low VOC and sustainable sourcing of materials. Matte and satin finishes are also gaining popularity for their contemporary look and ease of maintenance.
The Finishing Touches
Application of the Finish
Application of the finish needs to be timely and precise to avoid any blemishes. We prefer a professional’s touch, as they have a keen eye for detail and ensure a smooth application, whether we choose a brush, roller, or spray method.
Drying Time and Ventilation
Patience is a virtue, particularly when waiting for the finish to dry. We ensure good ventilation to facilitate the drying process and adhere strictly to the manufacturer’s recommended drying times to avoid any mishaps.
Achieving a Smooth and Even Coat
A smooth and even coat is the epitome of an expertly finished timber floor. Professionals often apply multiple thin coats, with sanding in between, to achieve this perfection. The result is a floor that we can be proud to showcase.
Maintenance Tips Post-Sanding and Finishing
Regular Cleaning Practices
To keep our newly finished floors looking their best, we engage in regular cleaning with the right products and equipment. This typically includes soft brooms, microfiber mops, and cleaners designed for wooden floors.
Scratch and Damage Prevention
We take measures to prevent scratches and damage, such as using felt pads under furniture, avoiding stiletto heels on the timber, and keeping pet nails trimmed. We know that being proactive in these areas keeps our floors in top condition for years to come.
Long-term Floor Care Strategies
Our long-term floor care strategy includes periodic professional cleaning, timely touch-ups to the finish, and being mindful of humidity levels in our home. These strategies extend the longevity and beauty of our floors far into the future.
Customizing Your Floor’s Appearance
Staining Options for a Unique Look
We love the idea of customizing the look of our floors to match our style. Staining is a fantastic way to achieve this, offering a spectrum of shades that can complement or contrast our decor beautifully.
Incorporating Borders and Inlays
For those of us looking for an even more distinctive touch, incorporating borders and inlays does wonders. It adds a level of elegance and personalization that makes our floors stand out as a feature by itself.
Color Matching with Existing Decor
We’re also keen on ensuring our renewed floors harmonize with our existing decor. This may involve color matching stains or selecting a finish that accentuates the natural beauty of the wood in relation to our interior design scheme.
Health and Safety Considerations
Understanding the Risks of Sanding and Finishing
Sanding and finishing have their risks, from dust inhalation to exposure to fumes from finishes. We recognize the need to mitigate these risks, for our health and the wellbeing of those around us.
Personal Protective Equipment (PPE)
Using the appropriate PPE, such as masks, goggles, and gloves, during the sanding and finishing process, is non-negotiable for us. Safety always comes first in our books.
Safe Disposal of Materials
We are also aware that proper disposal of used sandpapers, leftover finishes, and rags soaked in oil or stain is vital in preserving the environment and preventing hazards. We follow the recommended guidelines for disposal diligently.
Concluding Your Timber Floor Project
Final Inspection and Quality Check
After the sanding and finishing, we conduct a final inspection, looking closely for any missed spots, unevenness, or other potential issues. It’s our moment to ensure everything is up to our high standards.
Caring for Your Floors on the First Day
On the first day after finishing, we are extra careful with our floors. We avoid walking on them until they’re fully dried, and when we do, we wear soft soled shoes or socks.
Planning for Future Resurfacing
While we enjoy the fresh look of our timber floors, we also plan ahead for future resurfacing needs. By knowing the signs of wear and the average lifespan of the finish, we can maintain the beauty of our floors and act proactively when the time comes for another round of sanding and finishing.
Embracing these steps and considerations not only elevates the appeal of our homes but also safeguards our beloved timber floors for generations to enjoy. With proper care, a sanded and finished floor in Wellington becomes more than just a surface to walk on — it’s a reflection of our care and commitment to our home’s character and quality.


