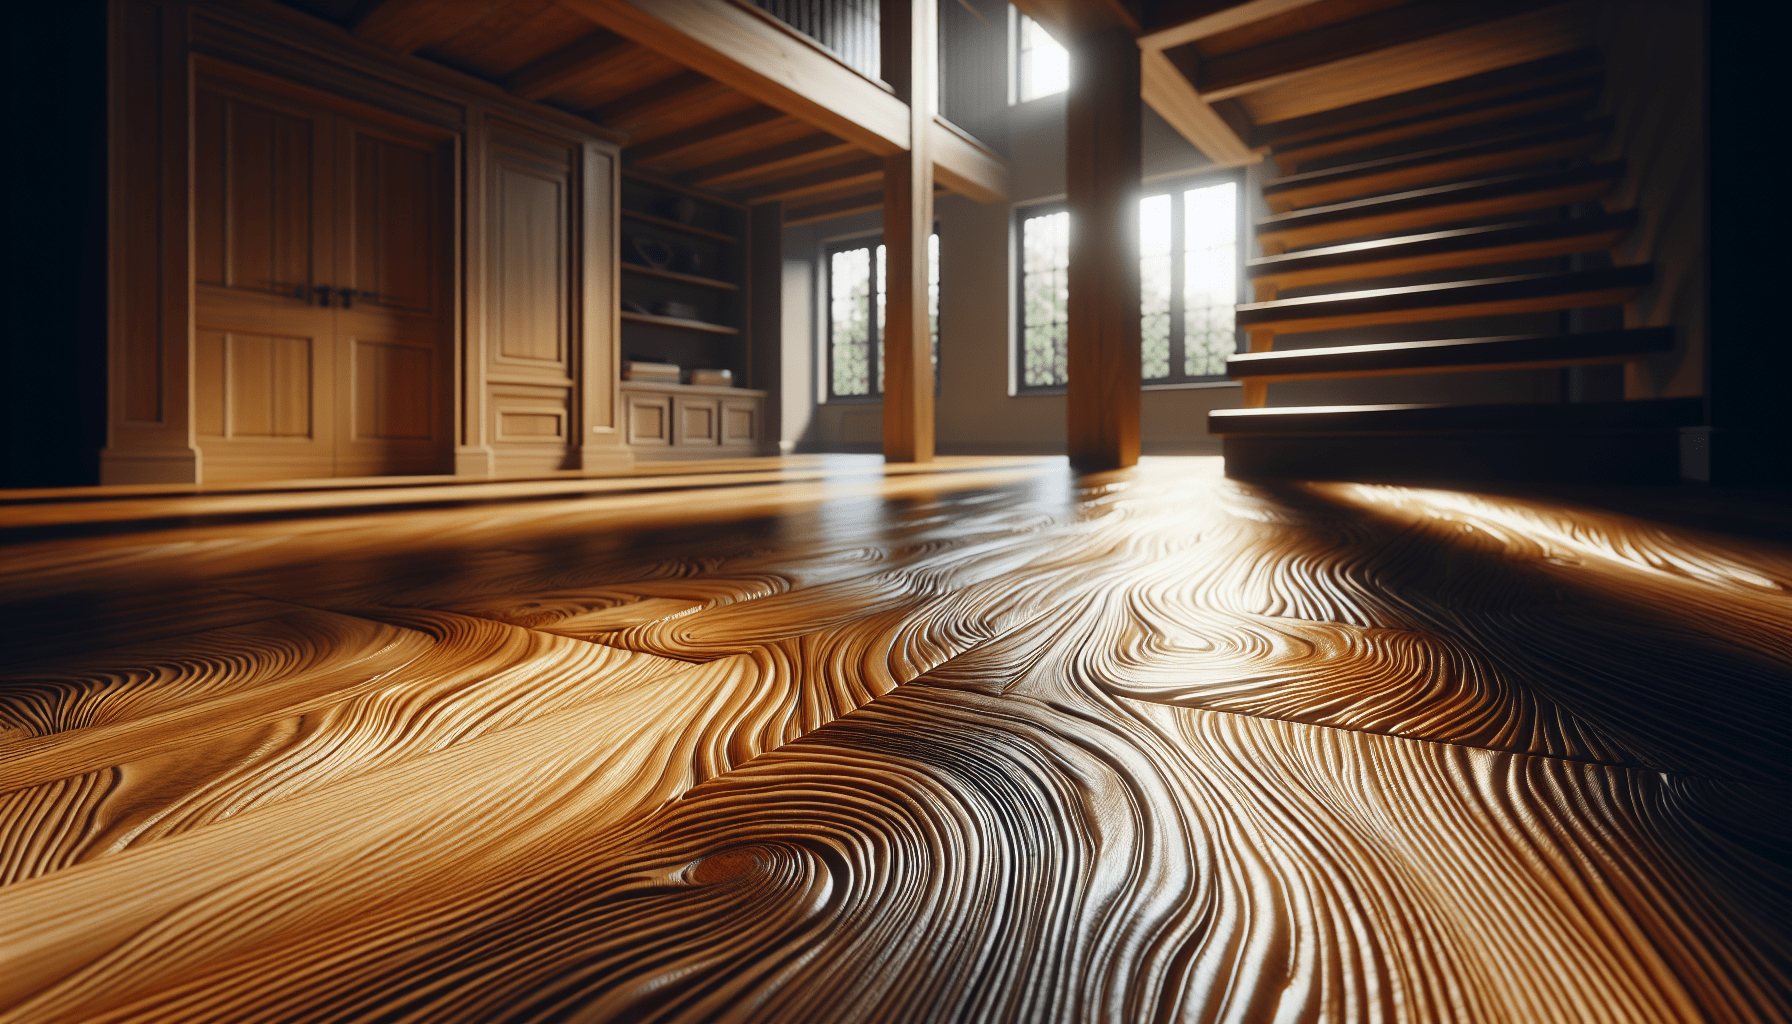
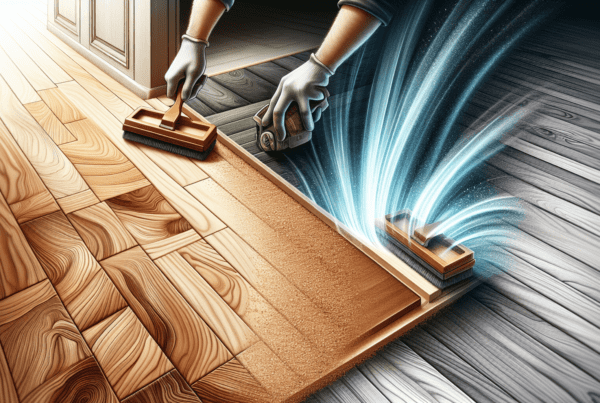
Embarking on a journey to master timber floor sanding and finishing in Wellington has brought us new insights and a deeper appreciation for the craft. It’s a process filled with nuances, from selecting the right grit of sandpaper to applying the perfect finish that protects and showcases the natural beauty of the wood. Join us as we share our experiences and tips on achieving stunning results that breathe new life into any space. Through trial, error, and triumph, we’ve gathered valuable knowledge that we’re excited to pass along to fellow enthusiasts and homeowners looking to elevate their interiors.
Understanding Timber Floor Sanding and Finishing
Definition and importance of floor sanding and finishing
Floor sanding and finishing are crucial processes in the maintenance and restoration of timber floors. By sanding, we remove the top layers of the wood, including any old finish, stains, or minor damages. This prepares the floor for a new finish, providing a smooth, clean surface. The finishing process then involves applying a protective layer that enhances the beauty of the wood and offers durability. These steps are essential for extending the life of our floors, improving their appearance, and ensuring they remain a valuable aspect of our homes.
Types of timber floors common in Wellington
In Wellington, we find a variety of timber floors, each with its distinct characteristics and benefits. Popular choices include native species such as Rimu and Matai, known for their durability and natural beauty. Imported hardwoods like Oak and Bamboo are also common due to their versatility and eco-friendly appeal. Understanding the type of timber helps us make informed decisions about sanding and finishing techniques that will best highlight and protect the wood.
Benefits of sanding and finishing for timber floors
Sanding and finishing timber floors bring a multitude of benefits. First and foremost, they enhance the aesthetic appeal, revealing the wood’s natural grain and beauty. This can significantly increase a home’s value and appeal. Moreover, the finishing layer protects the floor from scratches, stains, and wear, making it more durable and easier to clean. These processes also allow us to customize our floor’s look, choosing finishes that suit our style and home’s décor.
Preparing for Timber Floor Sanding
Clearing the room and removing furniture
Before we start sanding, it’s crucial to prepare the space. We need to clear the room entirely, removing all furniture, rugs, and detachable fixtures. This not only provides us with a clear area to work in but also protects our belongings from dust and damage.
Assessing the condition of the timber floor
Examining the floor’s condition helps us plan the sanding process. We look for any protruding nails, deep scratches, or areas needing repair. Identifying these issues early allows us to address them properly, ensuring a smoother sanding process.
Choosing the right sanding equipment
Selecting the appropriate sanding equipment is vital for achieving good results. The type of timber, the condition of the floor, and the desired finish all influence our choice of sanders and sandpaper grit. It’s about finding the right tools for the job.
Safety precautions and protective gear
Sanding can be hazardous due to dust and the operation of heavy machinery. Wearing protective gear, including masks, goggles, and ear protection, safeguards our health. Additionally, ensuring good ventilation helps minimize dust inhalation.
Sanding Equipment and Materials
Types of sanders used for timber floors
For sanding timber floors, we typically use drum sanders, orbital sanders, or edge sanders. Drum sanders are powerful and efficient for large areas, while orbital sanders are better for fine sanding and smoothing. Edge sanders, as the name suggests, are designed for working along the edges and corners.
Selection of sandpaper grit sequence
Choosing the right sandpaper grit sequence is critical. We generally start with a coarser grit to remove old finishes and imperfections and gradually move to finer grits for smoothing the surface. This step-by-step approach ensures a uniformly sanded floor ready for finishing.
Edge sanding vs. surface sanding tools
While surface sanders are designed for the main floor area, edge sanding tools target the perimeter and hard-to-reach places. Using both types of sanders allows us to achieve a consistently sanded floor across the entire room.
Dust extraction solutions
Effective dust extraction is essential for maintaining air quality and visibility during the sanding process. Using sanders equipped with dust collection systems or employing external dust extractors helps to significantly reduce airborne dust.
The Sanding Process
Step-by-step guide to sanding timber floors
- Prepare the room and assess the floor.
- Select and fit the appropriate initial coarse grit sandpaper on the sander.
- Start sanding from one corner, moving steadily across the floor with the grain.
- Vacuum the floor between sandings and change to a finer grit sandpaper.
- Repeat the sanding process with finer grit until achieving a smooth finish.
- Use edge sanders for the perimeter and corners.
Dealing with nails and floor imperfections
Before sanding, we need to countersink any protruding nails and fill significant gaps or imperfections with wood filler. This preparation prevents damage to our sanding equipment and ensures a smoother, more uniform finish.
Edge sanding techniques
Edge sanding requires a careful approach to avoid damaging the baseboards or missing patches of the floor. We use a handheld edge sander, moving it in a smooth, consistent motion to match the rest of the floor’s sanding pattern.
Sanding patterns and techniques to avoid marks
To avoid sanding marks, we maintain a steady pace and avoid lingering too long in one spot. It’s essential to sand in the direction of the wood grain and ensure even pressure throughout the process. Changing sandpaper grits progressively and vacuuming between each phase helps eliminate marks for a flawless finish.
Choosing the Right Finish for Your Timber Floor
Overview of finish types (oil-based, water-based, polyurethane)
Each type of finish offers unique advantages. Oil-based finishes penetrate deeply, enhancing the wood’s natural color and grain. Water-based finishes dry quickly and have a lower odor, while polyurethane provides a highly durable protective layer suitable for high-traffic areas.
Considerations for choosing a finish (traffic, maintenance, color)
When selecting a finish, consider the floor’s expected traffic, desired maintenance level, and color effect on the wood. High-traffic areas benefit from more durable finishes like polyurethane, while oil-based finishes might suit rooms where we wish to highlight the wood’s natural beauty.
Pros and cons of different finishes
- Oil-based finishes: Pro: Enhances natural wood features. Con: Longer drying times.
- Water-based finishes: Pro: Quick drying and low odor. Con: May require more frequent recoating.
- Polyurethane: Pro: Highly durable. Con: Can yellow over time.
Applying the Finish
Preparation steps before applying finish
Before finishing, we ensure the floor is perfectly clean and free from dust. Optionally, we might lightly sand the floor with a very fine grit to prep the surface for an even application of the finish.
Application techniques for even coating
Using a brush or roller, we apply the finish with long, even strokes, following the wood grain. It’s crucial to maintain a wet edge to avoid lap marks, working systematically across the floor.
Number of coats needed and drying times
The number of coats required varies depending on the type of finish and the timber. Typically, we apply at least two to three coats, allowing ample drying time between each as specified by the product instructions.
Tips for a smooth finish
For a flawless finish, apply thin, even coats and sand lightly between them once dry. Avoid working in excessively hot or humid conditions to prevent rapid drying or moisture entrapment.
Maintenance Tips for Sanded and Finished Floors
Routine cleaning practices
Regular sweeping or vacuuming removes dirt and debris that could scratch the floor. Cleaning with a damp mop and a dedicated wood floor cleaner helps maintain the finish’s integrity without causing damage.
Preventing scratches and damage
Use felt pads under furniture legs and avoid wearing high heels or dragging objects across the floor. Mats or rugs in high-traffic areas can also protect the surface from wear.
When to recoat or refinish the floor
Recoating is advisable when the floor starts to show signs of wear but hasn’t been damaged through to the wood. Refinishing, involving sanding down and applying new finish coats, may be necessary every 7-10 years, depending on wear and tear.
Common Challenges and Solutions
Dealing with uneven floors
Uneven floors require leveling before sanding can commence. This might involve using filler for minor issues or sanding down high spots for more significant unevenness.
Addressing mistakes during sanding or finishing
Mistakes like sanding marks or uneven finish applications can often be corrected by resanding the affected area and reapplying the finish. It’s crucial to identify and address these issues early to prevent them from affecting the overall result.
Controlling dust and maintaining air quality
Using sanding equipment with effective dust collection systems and sealing off the work area can help control dust. Additionally, wearing protective gear and ensuring proper ventilation protect our health and maintain air quality.
Professional vs. DIY Floor Sanding and Finishing
When to hire a professional floor sander
Consider hiring a professional when the job is extensive, the floor presents complex issues, or we lack the necessary equipment and experience. Professionals can guarantee a high-quality finish and often complete the job more efficiently.
Cost comparison: DIY versus professional work
DIY can be cost-effective for those who already possess some equipment and technical skill. However, considering the potential for costly mistakes and the expense of renting equipment, hiring professionals may be more economical in the long run.
Evaluating the quality of professional services in Wellington
When evaluating professional sanding and finishing services in Wellington, look for companies with good reputations, verifiable reviews, and a portfolio of completed projects. Discussing our needs and expectations in detail can help ensure satisfaction with the final outcome.
Local Wellington Resources for Timber Floor Sanding and Finishing
Recommended local professionals and companies
Several reputable floor sanding and finishing professionals operate in Wellington, known for their quality workmanship and sustainable practices. Seeking recommendations from friends or online communities can be a good starting point.
Where to rent sanding equipment
For those opting for DIY, Wellington has various equipment rental services offering sanders, edge sanders, and dust extraction systems. Research and compare options to find the best deals.
Local workshops or tutorials on floor sanding and finishing
Lastly, attending workshops or tutorials can greatly improve our understanding and skills in floor sanding and finishing. These resources, often available at local hardware stores or community centers, provide valuable hands-on experience and expert advice.


