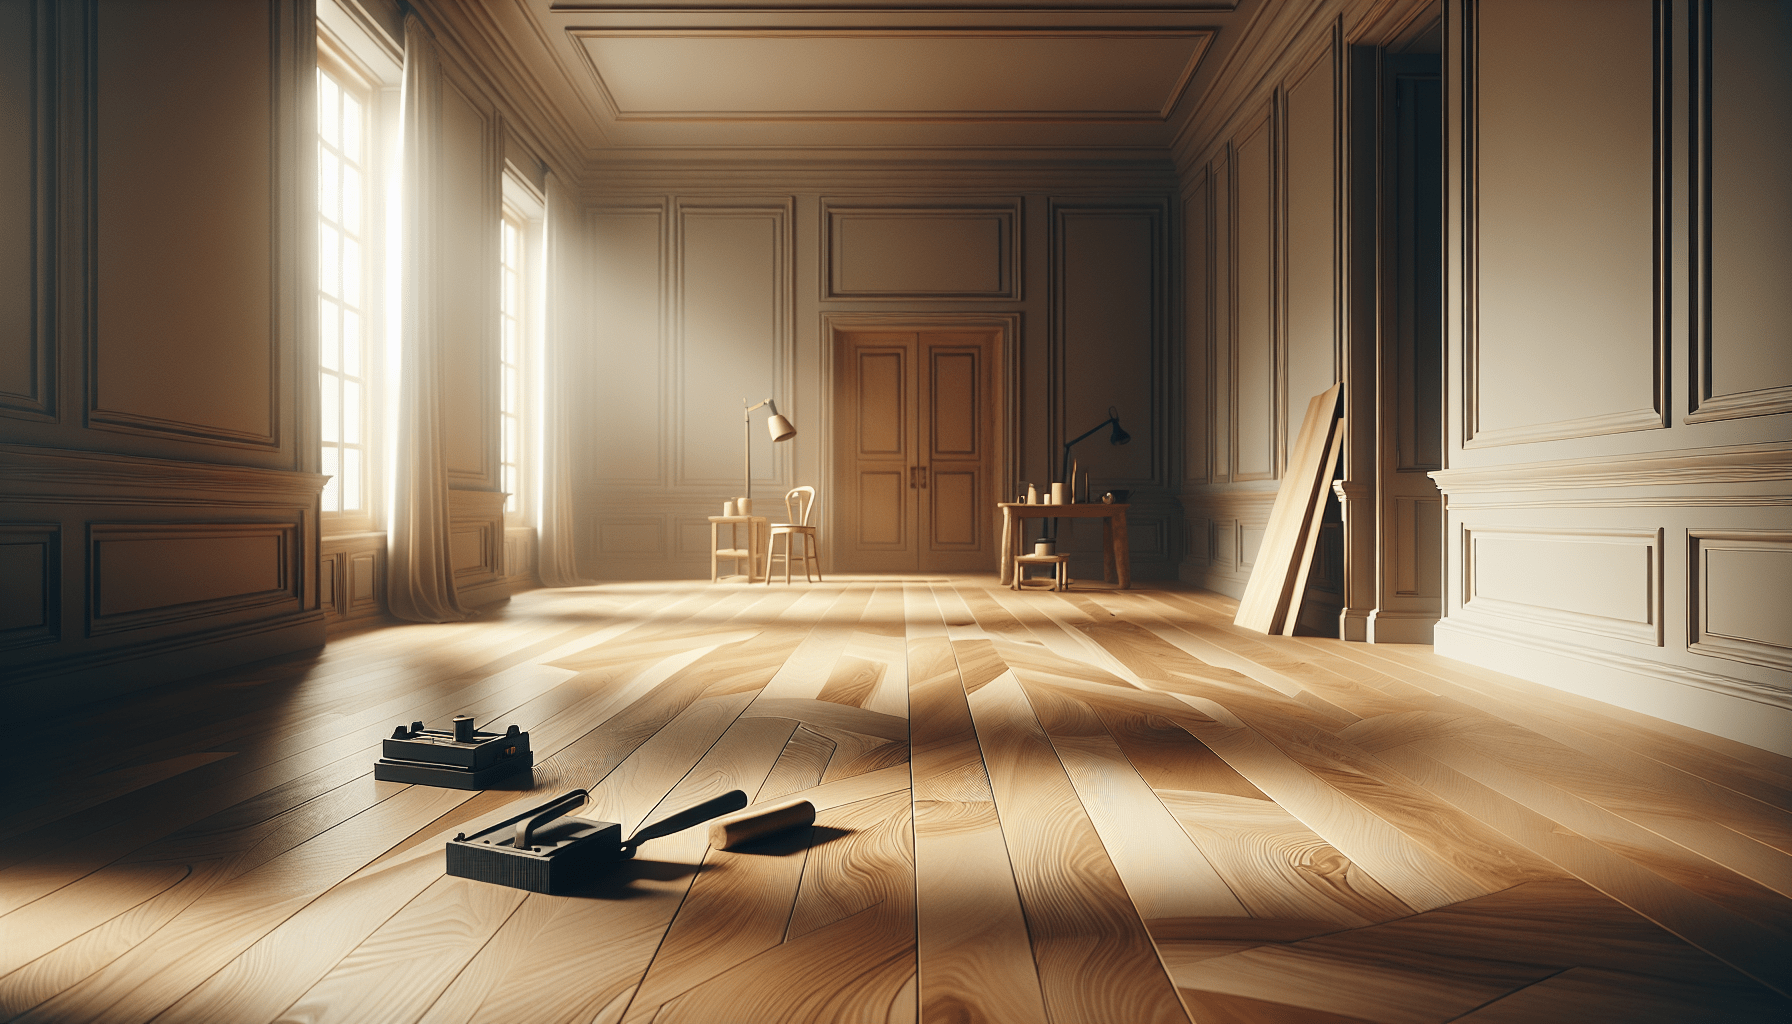
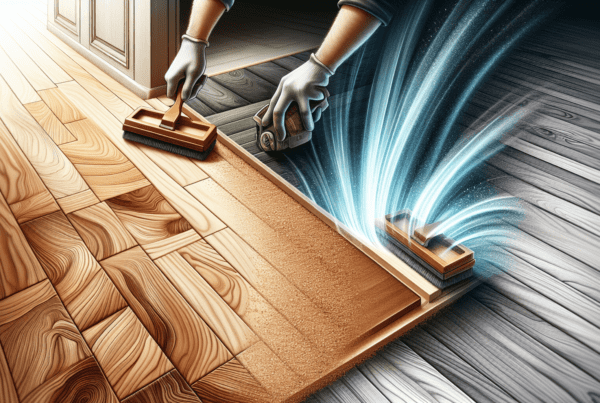
Embarking on the journey of reviving your home’s aesthetics often leads us to explore various avenues, and one such path is the art of timber floor sanding and finishing in Wellington. This technique, cherished for its ability to breathe new life into weary floors, is not merely a task but a craft mastered by skilled professionals. In the heart of Wellington, this craft transforms homes, infusing them with warmth, elegance, and an undeniable charm. Let us take you through the nuances of this process, celebrating the meticulous efforts that go into sanding and finishing timber floors, making every step on these surfaces a testament to timeless beauty.
Understanding Timber Floors
Types of Timber Floors in Wellington
In Wellington, we are fortunate to have access to a variety of timber floors, each with unique aesthetics and characteristics. From traditional native woods like Kauri and Rimu, which echo our heritage, to contemporary options such as Oak and Maple that can give our homes a modern touch. Bamboo, although technically a grass, is also a popular choice for its durability and sustainability. We cherish the diversity these materials bring to our spaces, allowing us to personalize our homes while enjoying the natural beauty of wood.
Benefits of Timber Flooring
Opting for timber flooring comes with a host of benefits. Firstly, the durability and longevity of wood floors are unmatched, especially when they’re well-maintained. Timber floors add an undeniable warmth and beauty to any space, enhancing the overall ambiance of our homes. Moreover, they’re easy to clean and hypoallergenic, making them an excellent choice for families with allergies. Timber flooring is also a sustainable option, especially when sourced from responsibly managed forests, contributing to our eco-conscious efforts.
Common Timber Floor Issues in Wellington’s Climate
Wellington’s climate can be a challenge for timber floors. The high humidity levels, frequent rainfall, and occasional salty sea breezes can contribute to moisture-related issues such as warping and cupping. Furthermore, UV exposure from sunnier days can lead to discoloration. As locals, we’ve learned the importance of addressing these issues early on, whether through regular maintenance or choosing the right type of wood and finish to withstand our specific environmental challenges.
Preparation for Sanding
Assessing the Timber Floor Condition
Before we dive into sanding, it’s crucial to assess the condition of our timber floors. We look for signs of wear, deep scratches, or damaged areas that might need repairs. Identifying these issues beforehand ensures that we can tailor our sanding process to effectively restore our floors without causing further damage.
Clearing the Room and Floor
Clearing the room is our next step, removing all furniture and ensuring nothing remains on the floor. It’s a good opportunity for us to check the floor for protruding nails or screws that could harm the sanding equipment. Ensuring a clean and clear workspace not only makes the job easier but also prevents accidents.
Choosing the Right Sanding Equipment
Selecting the right sanding equipment is crucial. We typically use a combination of belt sanders for the main area and orbital sanders for the edges. The choice of sandpaper grit is equally important, starting coarse and moving to finer grits progressively for a smooth finish.
Safety Precautions and Protective Gear
Our safety is paramount. We always wear protective gear including dust masks, safety goggles, and ear protection during sanding. Ensuring proper ventilation is equally important to avoid inhaling dust particles. Taking these precautions helps protect us throughout the sanding process.
The Sanding Process
Initial Sanding: Removing the Old Finish
The initial sanding phase focuses on removing the old finish and any significant blemishes. We start with a coarse-grit sandpaper, moving the sander evenly across the floor to avoid uneven wear. Patience is key – we take our time to ensure the old finish is completely removed before moving on.
Intermediate Sanding: Smoothing the Surface
After the rough layer is stripped away, we switch to a medium-grit sandpaper for intermediate sanding. This step is essential for smoothing the surface, preparing it for the final fine sanding. It’s a meticulous process that sets the foundation for a flawless finish.
Final Sanding: Preparing for Finishing
Final sanding with fine-grit sandpaper is crucial for achieving that smooth, polished look. We pay close attention to detail, ensuring even sanding across the entire floor. This step is all about refinement, preparing our floors for the perfect finish.
Edge Sanding: Techniques and Tips
Edge sanding can be tricky, but with the right technique, we can achieve seamless results. Using an orbital sander, we carefully work around the room’s perimeter, smoothing the edges to match the rest of the floor. It requires a steady hand and patience, but the end result is worth it.
Sanding Challenges and Solutions
Sanding can present several challenges, from managing dust to dealing with stubborn stains or damage. We’ve found that the key is preparation—having the right equipment, setting realistic expectations, and taking our time. For tougher challenges, sometimes calling in professional sanders is the best course of action.
Choosing the Right Finish
Oil-based vs. Water-based Finishes
When it comes to finishes, we weigh our options between oil-based and water-based products. Oil-based finishes offer a rich, lustrous look and are traditionally favored for their durability. However, water-based finishes have gained popularity for their quicker drying times and lower VOC emissions, making them a more eco-friendly choice.
Eco-friendly and Non-toxic Options
We’re also mindful of selecting eco-friendly and non-toxic finishes, especially in homes with pets or children. These products minimize harmful emissions and contribute to healthier indoor air quality. Fortunately, there’s a growing range of eco-friendly options available that don’t compromise on quality or durability.
Durability and Maintenance Requirements
When choosing a finish, we consider its durability and maintenance requirements. Some finishes are more suited to high-traffic areas, offering better protection against scratches and wear. We think about our lifestyle and how much maintenance we’re willing to undertake, ensuring we choose a finish that fits our needs.
Aesthetics: Matching the Finish with Wellington Homes
Aesthetics play a significant role in our decision. We want a finish that complements the architectural style and décor of Wellington homes. Whether we’re aiming for a glossy, modern look or a matte, traditional feel, there’s a finish out there that meets our aesthetic desires while providing the protection our floors need.
Applying the Finish
Tools and Materials Needed
To apply the finish, we gather all necessary tools and materials beforehand. This includes the selected finish, applicators (such as rollers or brushes), and proper protective gear. Preparation is key to a smooth application process.
Step-by-step Guide to Applying Finish
We follow a step-by-step guide to ensure the finish is applied evenly and correctly. Starting from the farthest corner of the room, we work our way towards the exit to avoid stepping on the freshly applied finish. We apply thin, even coats, following the wood grain for best results. Patience during this stage ensures a smooth, even coat that will look fantastic once dried.
Drying Times and Ventilation
We adhere to the drying times specified by the finish manufacturer and ensure proper ventilation in the room. This not only helps the finish dry evenly but also minimizes the inhalation of any harmful fumes. Depending on the type of finish, we may need to apply multiple coats, allowing sufficient drying time between each.
Tips for a Smooth and Even Application
Achieving a smooth, even application involves maintaining a steady hand and not rushing the process. We avoid working in extreme temperatures or humidity, which can affect the finish’s consistency and drying time. Sanding between coats (if recommended by the manufacturer) can also enhance the smoothness and adhesion of the final coat.
Aftercare: Protecting Your Timber Floors
Regular Cleaning and Maintenance
To keep our timber floors looking their best, regular cleaning and maintenance are essential. We use soft-bristled brooms or vacuum cleaners with a hardwood setting to remove dirt and dust. Damp mopping with a mild cleaning solution helps tackle tougher stains without damaging the finish.
Preventing Scratches and Damage
We take precautions to prevent scratches and damage by using felt pads under furniture legs and avoiding dragging heavy items across the floor. High-heeled shoes and pet nails can also cause damage, so we’re mindful of these potential hazards.
When to Refinish Your Timber Floors
Over time, even the best-kept floors will show signs of wear. We keep an eye out for dullness, deep scratches, or discoloration, indicators that it’s time to refinish. Typically, timber floors may need refinishing every 7-10 years, depending on traffic and wear.
Using Rugs and Mats Strategically
Rugs and mats not only add to the décor but also protect high-traffic areas from wear. We place them strategically at entrances, in hallways, and in front of sinks to minimize direct impact on our timber floors. This simple measure can significantly extend the life of our floors.
Professional vs. DIY Sanding and Finishing
Cost Comparison
Deciding between professional sanding and finishing services and a DIY approach involves comparing costs. Hiring professionals can be more expensive upfront, but their expertise often results in a higher quality finish that lasts longer, potentially saving us money in the long run.
Quality and Durability of Outcome
Professional services usually guarantee a level of quality and durability that might be hard to achieve with a DIY approach, especially for those of us without prior experience. Professionals have the tools, knowledge, and skills to tackle any floor condition, ensuring a consistently high-quality finish.
Time Investment
DIY sanding and finishing can be time-consuming, especially for those of us new to the process. We weigh the value of our time against the cost of hiring professionals, considering our personal schedules and the inconvenience of having an unusable space during DIY projects.
When to Call in the Professionals in Wellington
For complex projects, or when we’re unsure of our ability to achieve the desired outcome, calling in professional sanders and finishers in Wellington is a wise choice. They can handle everything from prep to finish, ensuring our floors look beautiful and last for years to come.
Common Mistakes to Avoid
Skipping Sanding Grits
One common mistake is skipping sanding grits and jumping directly to fine sandpapers. This can leave deeper scratches unaddressed, affecting the final look. It’s essential to progress through the grits for a smooth, even finish.
Applying Finish Too Thickly
Applying finish too thickly can lead to uneven drying, bubbles, and a less durable finish. Thin, even coats are key, allowing sufficient drying time between each layer to achieve the best results.
Ignoring Dust Control
Failing to manage dust during the sanding process can affect both our health and the final finish quality. Using dust extraction equipment and sealing off the work area can help mitigate this issue.
Underestimating the Project Timeline
DIY enthusiasts often underestimate the time required to sand and finish timber floors properly. Allocating ample time for each step, including drying times, ensures a stress-free and successful project.
Latest Trends in Timber Floor Finishing
Environmentally Friendly Products
There’s a growing trend towards environmentally friendly finishes, with low VOC (volatile organic compounds) levels being a significant focus. These products offer the durability and beauty we desire while being better for our health and the planet.
Innovative Sanding Equipment
Advancements in sanding equipment, including dustless sanding systems, are making the process cleaner and more efficient. These innovations allow for a more pleasant working environment and reduce cleanup time.
Popular Stains and Finishes in Wellington
In Wellington, there’s a preference for finishes that enhance the natural beauty of the wood. Light, natural finishes are popular, reflecting our love for bright, airy interiors. Darker stains are also chosen for more traditional or dramatic looks.
Future Directions in Timber Flooring Technology
Looking ahead, we expect to see more innovations in both products and techniques, with a focus on sustainability and efficiency. Advances in finish formulations will likely provide even more durable and eco-friendly options, catering to Wellington’s growing demand for sustainable home improvements.
Choosing a Timber Floor Sanding and Finishing Service in Wellington
What to Look for in a Service Provider
When selecting a service provider, we look for experience, reputation, and a portfolio of previous work. It’s important to choose a company that understands Wellington’s unique climate and flooring needs, ensuring they use the appropriate techniques and materials.
Questions to Ask Before Hiring
We prepare a list of questions to ask potential service providers, including their experience with similar projects, timelines, cost estimates, and the products they use. Understanding their process and what to expect helps us make an informed decision.
Comparing Quotes and Services
We recommend obtaining quotes from multiple providers to compare services and prices. This also gives us a sense of the market rate and what’s included in the service, helping us get the best value for our investment.
Local Regulations and Standards
Finally, we ensure that any service provider we consider complies with local regulations and standards. This includes using approved products and adhering to Wellington’s environmental guidelines, ensuring a safe and legal project completion.
In conclusion, whether we choose a DIY approach or hire professionals, understanding the art of timber floor sanding and finishing is crucial for achieving the best results. By following this comprehensive guide, we’re equipped to restore our Wellington homes’ timber floors to their original glory or even transform them for a completely new look.


