In the heart of Wellington, a dedicated team of craftsmen stands out for their remarkable expertise in timber floor sanding and finishing. With precision and care, they breathe new life into worn-out wooden floors, transforming spaces with their skill and dedication. Their work not only showcases the natural beauty of timber but also ensures its longevity, making them a sought-after choice for anyone looking to rejuvenate their home or workspace. Let’s take a closer look at the magic these craftsmen work with every project they undertake.
The Art of Timber Floor Sanding
Timber floors add warmth and character to any home, but over time, they can lose their luster and accumulate scratches and dents. Restoring their beauty requires the art of timber floor sanding, a process we’re passionate about. Let’s embark on this informative journey together, exploring every step of bringing timber floors back to their former glory.
Understanding the Timber Floor Sanding Process
The process of timber floor sanding is not just about improving the appearance of the floor but also about extending its life. It involves the removal of the top surface of a wooden floor by abrasive materials to eliminate scratches, dents, and old finishings. This process prepares the floor for a new finish, enhancing its natural beauty and protecting it for years to come.
Tools and Equipment Used by Professionals
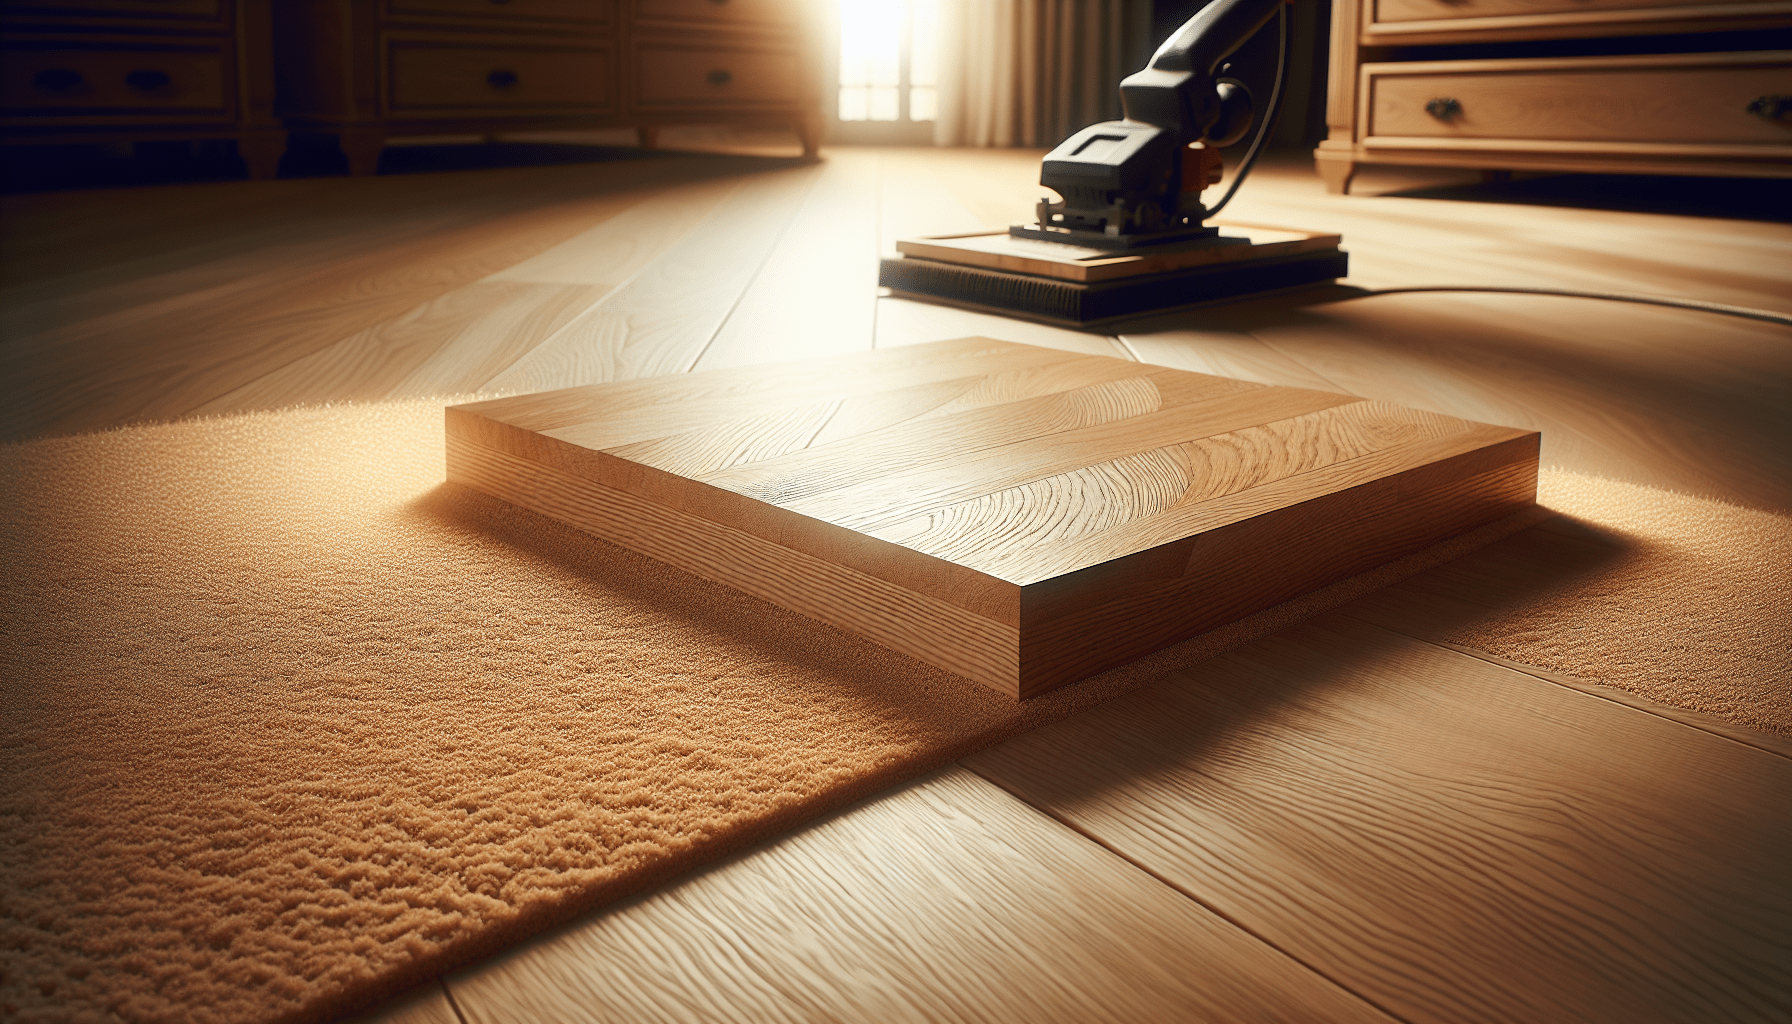
Professional sanders use a variety of tools and equipment to achieve a smooth, flawless finish. Belt sanders, edge sanders, and buffer machines are common in their arsenal. These machines vary in size and functionality, designed to sand floors efficiently and evenly. Using the right tool for the specific part of the sanding process is crucial for achieving the best results.
The Importance of Dust Control During Sanding
Dust control is paramount during the sanding process. Excessive dust can be harmful to both the workers’ health and the home’s environment. Professionals employ dust extraction systems to minimize the airborne particles. These systems collect the majority of the dust created, maintaining cleaner air and simplifying the cleanup process.
Sanding Techniques for Different Timber Floors
Not all timber floors are the same, and understanding the intricacies of different types is essential. Hardwoods such as oak and maple may require different sanding techniques compared to softer woods like pine. The sanding process must be tailored to the hardness of the wood, the grain pattern, and the floor’s current condition to ensure optimal outcomes.
Choosing the Right Finish for Your Timber Floor
After sanding, choosing the right finish is critical to the floor’s aesthetics and durability. The finish not only protects the floor but also determines the maintenance requirements and the floor’s resistance to wear and tear.
Types of Finishes: Polyurethane, Oil-based, and Others
There are various types of finishes available, including polyurethane, oil-based, and water-based finishes. Polyurethane finishes are popular for their durability and resistance to scratches and spills. Oil-based finishes, on the other hand, enhance the natural grain of the wood and provide a warm tone. Each type has its advantages, and the choice often comes down to personal preference and the specific requirements of the floor.
The Role of Finish in Floor Longevity and Aesthetics
The finish plays a crucial role in both the longevity and aesthetics of the floor. A high-quality finish will protect the floor from everyday wear and tear, sunlight exposure, and moisture, significantly extending its life. Moreover, the finish can be chosen to either enhance the natural grain of the wood or achieve a specific color or gloss level, altering the floor’s appearance to match the desired aesthetic.
How to Match the Finish with Your Home Decor
Matching the finish with your home decor involves considering the color scheme, the style of furniture, and the overall design theme. The finish can either complement your decor by blending in seamlessly or be used as a contrasting element to create visual interest. Consulting with design professionals or using samples can help in making the best choice for your home.
Environmental Considerations in Selecting Floor Finishes
Today, many homeowners are conscious of their environmental impact and prefer using eco-friendly finishes. Water-based finishes, for example, have lower volatile organic compounds (VOC) levels, making them a healthier choice for both the environment and the home’s occupants. Choosing eco-friendly finishes and materials shows a commitment to sustainability and can contribute to a greener planet.
Preparation for Sanding and Finishing
Preparation is key to a successful timber floor sanding and finishing project. Proper preparation ensures the process goes smoothly and results in a high-quality finish.
Clearing the Area: Best Practices
Clearing the area involves more than just removing furniture and rugs. It’s about ensuring the space is free of dust and debris that could interfere with the sanding and finishing process. Electrical outlets, vents, and light fixtures should also be covered to prevent dust infiltration.
Floor Repairs Before Sanding: What Needs to be Done?
Inspecting the floor for damages such as deep scratches, dents, or loose planks is crucial before beginning the sanding process. Any necessary repairs should be addressed to ensure a smooth and level surface. This might involve replacing damaged boards, filling in gaps, or securing loose boards.
Setting the Right Expectations with Clients
It’s essential to communicate with clients about what to expect during and after the sanding and finishing process. This includes discussing the timeline, the potential for noise and dust, and any required preparations on their part. Setting the right expectations helps in building trust and ensuring client satisfaction.
Checking the Moisture Content Before Starting
Checking the wood’s moisture content is a critical step before starting the sanding process. Wood expands and contracts based on moisture levels, which can affect the final outcome. Sanding and finishing should only proceed when the wood’s moisture content is at an acceptable level, ensuring the longevity of the finish.
The Sanding Process
The sanding process involves multiple stages, each designed to gradually smooth the floor’s surface and prepare it for finishing.
Initial Sanding: Removing the Old Finish
The initial sanding stage is focused on removing the old finish, scratches, and stains. This is usually done with a coarse-grit sandpaper to strip away the top layer efficiently. It’s a critical step that sets the foundation for the rest of the sanding process.
Intermediate Sanding: Smoothing the Floor
After the initial sanding, intermediate sanding with medium-grit sandpaper smooths the floor further, eliminating any roughness left by the coarse grit. This step ensures that the floor is perfectly smooth and ready for the final sanding stage.
Final Sanding: Preparing for the Finish
The final sanding stage uses fine-grit sandpaper to achieve a flawlessly smooth surface. This stage is crucial for preparing the floor for the finish, as any imperfections left can be amplified once the finish is applied.
Edge Sanding: Attention to Details
Edge sanding focuses on the areas close to walls and hard-to-reach places. Using a specialized edge sander ensures a uniform finish across the entire floor, paying close attention to details that make a significant difference in the overall quality of the project.
Finishing Touches
After the floor has been sanded to perfection, it’s time for the finishing touches that protect the floor and enhance its beauty.
Application of the Chosen Finish
Applying the chosen finish requires skill and precision. The type of finish, the method of application, and the number of coats are carefully considered to achieve the desired result. Whether it’s brushed, rolled, or sprayed, applying the finish evenly and allowing ample drying time between coats is essential.
Buffing the Floor to a Perfect Shine
Buffing the floor after the final coat of finish has dried gives it a perfect shine and ensures an evenly smooth surface. This step prepares the floor for the curing process, where the finish hardens and achieves its final hardness.
Curing Time and Best Practices
Curing time varies depending on the type of finish used. It’s a crucial period when the floor should not be walked on or covered with rugs. Instructions provided by the finish manufacturer should be followed closely to ensure the best results and avoid damaging the new finish.
Post-finishing Clean-up and Care
After the finish has fully cured, post-finishing clean-up involves removing any dust and debris left from the sanding and finishing process. Proper care instructions should be provided to the homeowners, including tips on cleaning and maintaining their newly finished floors.
Maintenance Tips for Timber Floors
Maintaining timber floors is essential for preserving their beauty and prolonging their life. Here are a few tips we recommend:
Regular Cleaning Habits
Regular cleaning with a soft broom or a vacuum with a hardwood setting helps prevent dirt and grit from scratching the floor. Using a damp mop with a gentle, wood-floor cleaner keeps the floor looking fresh without damaging the finish.
Dealing with Spills and Stains
Immediate action is crucial when dealing with spills. Wiping up spills promptly prevents water damage and staining. For tough stains, using a cleaner specifically designed for hardwood floors is advisable.
When to Consider a Refinish
Over time, floors may start to show signs of wear and tear. When scratches and dullness become noticeable, it might be time to consider a refinish. Refinishing can bring back the floor’s original beauty and provide an opportunity to change the finish for a new look.
Protecting Your Floors from Furniture and Foot Traffic
Using floor protectors under furniture legs helps prevent scratches and dents. Rugs and mats in high-traffic areas also provide additional protection for the floor, reducing wear.
The Importance of Hiring Professional Craftsmen
While DIY projects can be rewarding, sanding and finishing timber floors is a task best left to professionals. Here’s why:
Understanding the Craftsmanship in Timber Floor Work
Professional craftsmen possess the knowledge and experience to handle the intricacies of timber floor work. Their understanding of different wood types, sanding techniques, and finishes ensures a high-quality result that DIY efforts might not achieve.
Benefits of Professional Sanding and Finishing
Hiring professionals ensures the job is done efficiently and effectively, with attention to detail. They have access to industrial-grade equipment and high-quality finishes that might not be available to the average homeowner. Additionally, professional work often comes with warranties, offering peace of mind.
How to Choose the Right Service Provider
When choosing a service provider, consider their experience, reputation, and portfolio of completed projects. Recommendations from friends or family and online reviews can also provide valuable insights. It’s important to communicate your expectations and ensure the provider is capable of meeting them.
Cost vs. Quality: Finding the Balance
While cost is an important consideration, it should not be the sole deciding factor. Opting for the cheapest option might lead to subpar results and additional costs in the long run. Finding a balance between cost and quality ensures value for money and satisfaction with the final outcome.
Wellington Timber Floor Sanding & Finishing Services
Wellington boasts a variety of timber floor sanding and finishing services, each offering unique strengths and specializations. The Wellington Timber Floor Sanding & Finishing Craftsmen stand out for their dedication to quality and customer satisfaction.
Overview of Local Providers
The local market offers a rich selection of providers, from small, specialized outfits to larger companies with extensive portfolios. Researching and comparing these options helps in finding the best fit for your project.
Why Choose Wellington-based Craftsmen
Wellington-based craftsmen bring a wealth of experience and a deep understanding of the local climate conditions, which can affect timber floors. Their proximity allows for better communication and flexibility throughout the project.
Success Stories and Case Studies
Wellington’s timber floor specialists have countless success stories, transforming worn-out floors into stunning showcases. Case studies highlight the problem-solving skills and craftsmanship involved, offering inspiration and confidence in their abilities.
Contacting and Booking a Professional
When ready to proceed, contacting and booking a professional is straightforward. Initial consultations often involve discussing the project scope, timeline, and budget. It’s also an opportunity to ask questions and gain a clear understanding of the process.
Environmental Considerations
Sustainability is increasingly important in all aspects of home improvement, including timber floor sanding and finishing. Here are some considerations:
Sustainable Practices in Floor Sanding and Finishing
Choosing professionals who employ sustainable practices, such as using eco-friendly finishes and efficient dust control systems, minimizes environmental impact. Sustainable practices also ensure healthier living spaces.
Using Eco-friendly Materials and Finishes
Eco-friendly materials and finishes, with lower VOC emissions, are better for the environment and indoor air quality. They offer the same durability and aesthetic appeal as traditional finishes, with the added benefit of being environmentally responsible.
Recycling and Disposal of Waste Materials
Proper recycling and disposal of waste materials from the sanding and finishing process are essential for environmental conservation. Professionals who follow best practices in waste management contribute to a healthier planet.
Contributions Towards a Greener Planet
Choosing services and products that prioritize environmental sustainability is a step towards a greener planet. Each decision in favor of eco-friendly options makes a difference, supporting global efforts to combat climate change.
FAQs on Timber Floor Sanding and Finishing
How Often Should Timber Floors Be Sanded and Finished?
The frequency depends on the floor’s condition and usage. On average, timber floors can benefit from sanding and finishing every 7-10 years. However, high-traffic areas may require more frequent attention.
Can All Types of Timber Floors Be Sanded and Finished?
Most types of timber floors can be sanded and finished, extending their lifespan and enhancing their beauty. However, some engineered floors have a thin veneer that may not withstand sanding. Consulting with a professional can determine if your floor is suitable.
How Long Does the Process Take?
The duration depends on the floor’s size, condition, and the extent of repairs needed. On average, sanding and finishing a room can take 2-4 days. Additional time may be required for curing the finish.
Preparing Your Home for Sanding and Finishing Work
Preparing your home involves clearing the area of furniture, securing fragile items, and covering openings to prevent dust spread. It’s also important to plan for staying away from the area during the curing period to avoid damaging the fresh finish.
In conclusion, understanding the art of timber floor sanding and finishing is essential for homeowners seeking to rejuvenate their floors. Whether choosing the right finish, preparing for the process, or maintaining the newly finished floors, knowledge, and preparation are key. Opting for professional services guarantees a high-quality finish, transforming your timber floors into stunning highlights of your home. With the right care and attention, timber floors can remain a beautiful and durable part of your home for many years to come.


